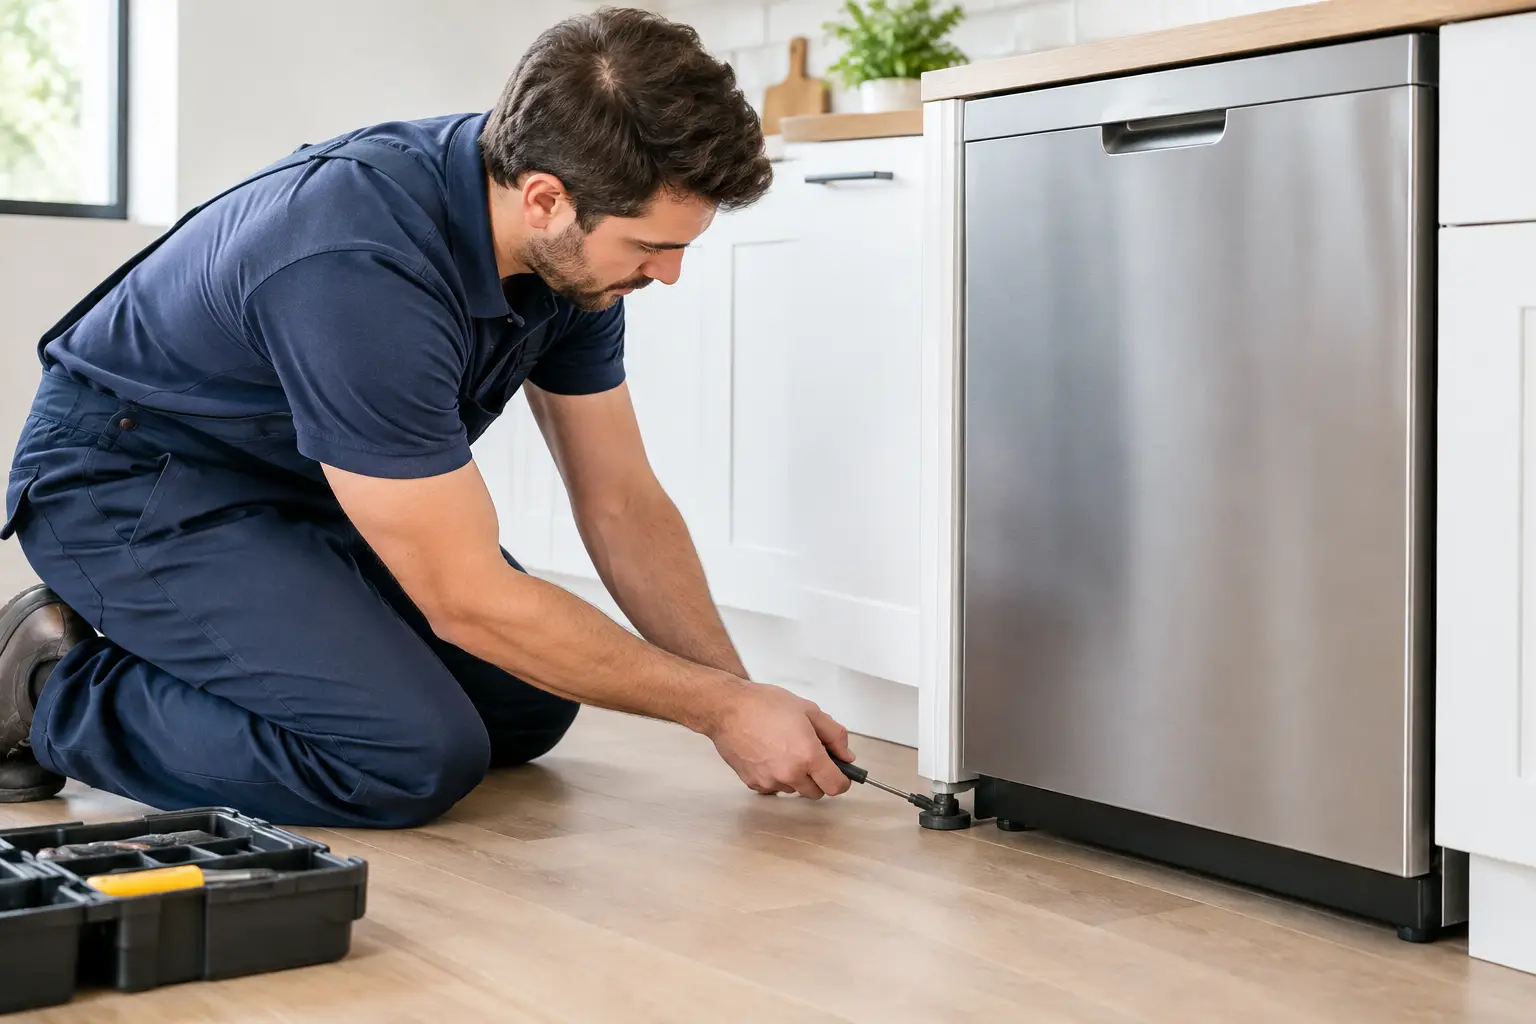
A dishwasher that rocks when you pull out the lower rack is more than an annoyance. Even a small tilt can affect how the door seals, where rinse water collects, how smoothly racks slide, and whether the unit vibrates against nearby cabinets. Learning how to level a dishwasher is a practical homeowner task, but it requires care around water lines, electrical connections, and the cabinet opening.
A properly leveled dishwasher should sit solidly in place, with no rocking at the corners. The door should open and close without rubbing, the racks should roll freely, and the unit should be positioned to drain as designed. If your dishwasher is leaking, making unusual noise, or leaving standing water behind, leveling may help – but it is not the answer to every dishwasher problem.
Not Sure You Need a Repair?
Before you pay for a service call, try FixDecision AI. Describe what's wrong with your appliance and get a safety-first assessment to help you decide whether to DIY or call a professional.
Why a Level Dishwasher Matters
Dishwashers are designed to operate nearly level from side to side and slightly adjusted front to back according to the manufacturer’s installation instructions. When the cabinet is noticeably uneven, water can pool where it should not, the spray arms may perform less effectively, and the door gasket can be placed under uneven pressure.
An unlevel dishwasher can also create a frustrating chain of smaller problems. The machine may shift when a loaded rack is extended. The door may not stay where you leave it. Vibrations can become louder during the wash cycle, especially if the dishwasher is touching the countertop, flooring, or cabinet frame.
Do not assume every performance issue comes from leveling. Poor cleaning is often caused by clogged spray arms, a dirty filter, low water temperature, or incorrect loading. A leak may come from a damaged door seal, loose hose, failing pump, or cracked tub. Leveling is worth checking first because it is straightforward and can prevent additional stress on the appliance.
What You Need Before You Start
Most homeowners only need a small bubble level and a flashlight. A Phillips screwdriver or nut driver may be needed to remove the lower access panel, depending on the dishwasher model. Many dishwashers use adjustable front legs that turn by hand or with a wrench, while the rear adjustment may be reached through a screw or adjusted from the front.
Before moving anything, turn off power to the dishwasher at the circuit breaker. Do not rely only on the control panel being off. If you need to pull the dishwasher forward far enough to inspect connections, shut off its water supply as well. Place a towel nearby in case a fitting drips when the unit is shifted.
If your dishwasher is hardwired, has a corroded water valve, a kinked drain hose, or feels unusually heavy and stuck in the opening, stop and arrange professional help. Forcing a dishwasher out of place can damage the water line, drain line, power wiring, flooring, or cabinets.
How to Level a Dishwasher Step by Step
Start by emptying the dishwasher. Pull the lower rack out and set it aside if it makes access easier. Open the door and look for mounting brackets at the top of the tub or along the sides. These brackets secure the dishwasher to the countertop or cabinets and may need to be loosened before you make major adjustments.
Check the Side-to-Side Position First
Place the level across the bottom edge of the dishwasher opening, the top of the tub, or another stable flat surface inside the door opening. Avoid checking on a curved or flexible rack. See whether the bubble is centered from left to right.
If one side is lower, adjust the front leveling leg on that side. On many models, turning the leg clockwise raises it and counterclockwise lowers it, but confirm this by watching the leg as you turn it. Make small adjustments, usually one or two turns at a time. Then check the level again.
After each adjustment, gently press on both front corners of the dishwasher. There should be no rocking. If the floor itself is uneven, you may need to raise one front leg more than expected to create a stable position.
Adjust the Front-to-Back Tilt
Next, position the level from front to back along the bottom of the tub opening or another flat interior surface. The dishwasher should not lean sharply forward or backward. A slight rearward tilt is specified for some installations, so consult the owner’s manual when possible rather than trying to create a perfectly centered bubble on every model.
A dishwasher that leans too far forward can put extra strain on the door and may encourage water to move toward the front. One that leans too far back may affect rack movement and the way the door hangs. Adjust the front legs evenly if both sides need to rise or lower together.
Rear legs are often less accessible. Some models have a rear leveling screw located behind the toe kick, while others require the dishwasher to be pulled forward slightly. Never drag the appliance across finished flooring. If it needs to move, protect the floor with cardboard or a thin board and have another adult help steady it.
Recheck the Door, Racks, and Cabinet Fit
Once the bubble level looks right, test the parts you use every day. Open the door slowly. It should move smoothly and should not scrape the countertop, kick plate, or adjacent cabinet. Slide both racks in and out. They should not roll forward or backward on their own, bind on the tub, or strike the door.
Check the clearance above the dishwasher as well. A unit adjusted too high can press against the countertop, while one set too low may leave a gap or make the mounting brackets difficult to secure. The goal is a secure fit, not simply getting the bubble level centered.
When you are satisfied, retighten the mounting brackets. Do not overtighten screws into cabinets or countertops, especially if the surrounding material is particleboard, stone, or composite. Replace the lower access panel before restoring power.
Run a Short Test Cycle
Turn the breaker back on and run a short rinse or quick-wash cycle. Stay nearby for the first few minutes. Look beneath the door and around the lower front panel for water. Listen for excessive vibration or a rattle caused by the dishwasher touching the cabinet.
At the end of the cycle, open the door carefully and inspect the tub floor. A small amount of water around the filter area can be normal on some models, but widespread standing water is not. If the dishwasher now sits firmly, the door seals properly, and the racks operate normally, the leveling adjustment likely did its job.
If a leak starts after adjustment, turn off power and water to the appliance. Check that no hose or fitting was pulled loose during movement. Do not continue running the dishwasher to see whether the leak stops. Water can spread behind cabinets and under flooring before it becomes visible.
Common Leveling Mistakes to Avoid
The biggest mistake is adjusting the legs while the dishwasher remains tightly pinned under the counter. This can damage the countertop or bend mounting hardware. Loosen the brackets first if the appliance needs room to move.
Another common issue is using the door or rack as the only test of level. Door spring tension, rack wheels, and a warped rack can all affect how those parts feel. Use an actual bubble level, then use the door and racks as confirmation.
Avoid making large adjustments all at once. Raising one corner too aggressively can twist the dishwasher frame, make the unit unstable, or pinch a hose behind it. Small turns, repeated checks, and a test cycle are the safer approach.
Finally, do not use scraps of wood, folded cardboard, or loose shims beneath a dishwasher unless the manufacturer specifically directs it. These materials can shift when exposed to moisture and make the appliance less stable. Adjustable legs are the correct solution for ordinary floor variation.
When Leveling Is Not a DIY Fix
Call for service if the dishwasher will not stay level because the flooring is soft, the cabinet opening is damaged, or the mounting points are stripped. These are installation issues that can worsen if the appliance is repeatedly moved.
Professional diagnosis is also the better choice when leveling does not resolve a leak, poor drainage, grinding noise, error code, or failure to start. Those symptoms may involve the pump, inlet valve, drain hose, float switch, control board, or door latch. A certified appliance technician can identify the actual cause and help avoid replacing parts that are not faulty.
A stable, properly fitted dishwasher is quieter, safer, and easier to rely on. Take your time with the adjustment, test the machine before returning it to regular use, and get experienced repair help when the problem goes beyond the leveling legs.