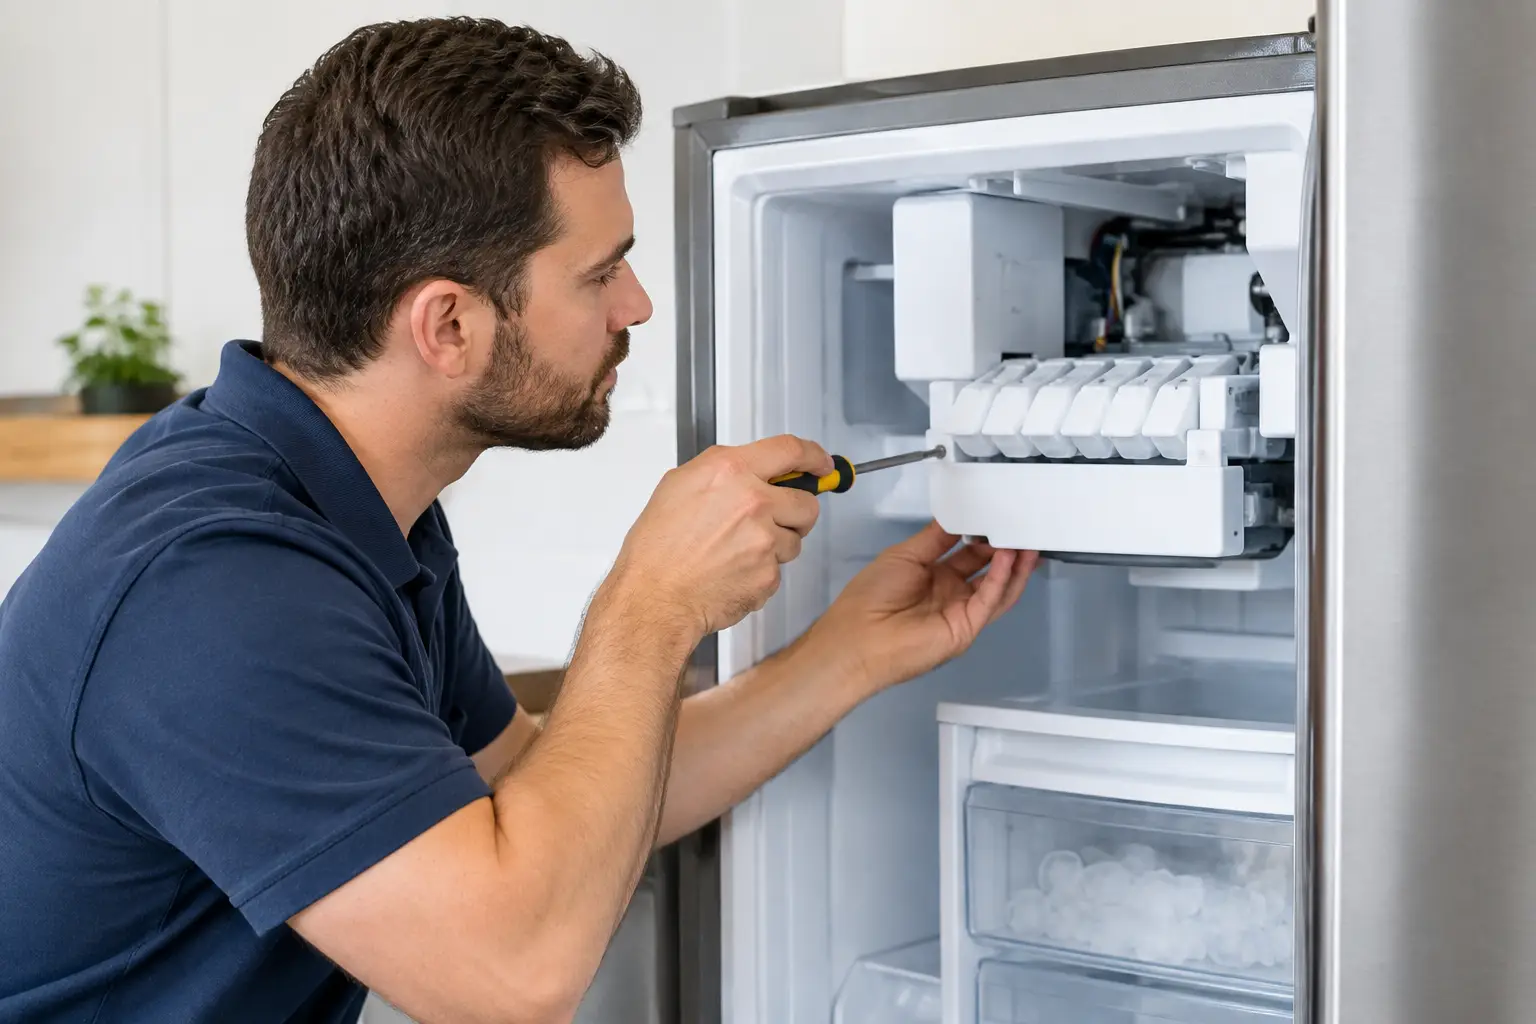
A refrigerator that suddenly stops making ice can turn a normal week into a hassle fast. Whether you are filling water bottles, hosting family, or simply trying to avoid a last-minute store run, this refrigerator ice maker repair guide helps you sort out what you can safely check and when it is time for fast professional help.
Ice makers are convenient, but they rely on several refrigerator systems working together: a steady water supply, correct freezer temperature, a working inlet valve, sensors or switches, and the ice maker itself. A small issue such as a bent water line can stop production. So can a failing electrical component hidden behind the refrigerator. Start with the simple checks, but do not force parts or ignore signs of a water leak.
Not Sure You Need a Repair?
Before you pay for a service call, try FixDecision AI. Describe what's wrong with your appliance and get a safety-first assessment to help you decide whether to DIY or call a professional.
Start With the Simple Ice Maker Checks
Before moving the refrigerator or removing panels, make sure the ice maker is actually turned on. Many models have a wire shutoff arm, an on-off switch, or a control setting inside the freezer. The shutoff arm should be in the down position unless the ice bin is full. If it is stuck up because of an ice buildup or a misplaced package, the unit may think the bin is full and stop cycling.
Next, look at the freezer temperature. Most ice makers need the freezer to stay at about 0 degrees Fahrenheit to work reliably. If the freezer is warmer than 10 degrees, ice production can slow dramatically or stop. Check whether the door is closing fully, food packages are blocking vents, or frost is building up on the back freezer wall. Those clues can point to an airflow, door-seal, or defrost issue that needs attention beyond the ice maker.
Give the ice maker time after any adjustment. A refrigerator may need several hours to return to the right temperature, and many units take 12 to 24 hours to produce a full batch of ice after being turned back on.
Check the Water Supply
If there is no ice at all, confirm the refrigerator has water. Try the water dispenser, if your model has one. No water from the dispenser often means the refrigerator water supply is the problem, not the ice maker.
Check that the shutoff valve behind or below the refrigerator is fully open. Inspect the visible water line for kinks, crushing, or leaks. Pulling the refrigerator too close to the wall is a common cause of a pinched line. If you find active leaking, turn off the water supply and arrange service promptly. Water can damage flooring, cabinets, and nearby electrical connections.
A clogged water filter can also restrict flow. Replace the filter according to the manufacturer’s schedule, often every six months, or sooner if water flow has noticeably slowed. After installing a new filter, flush the water dispenser as directed by the appliance manual. A little sputtering is normal while air clears from the line.
Common Ice Maker Problems and What They Mean
The way an ice maker fails matters. It can help you narrow down the likely repair and decide whether a service call is worthwhile.
If the ice maker makes small, hollow, or cloudy cubes, low water pressure is a common cause. A restricted filter, partially closed valve, kinked line, or weak inlet valve may be limiting the fill amount. Cloudy ice by itself is not necessarily a mechanical failure. Minerals and trapped air in household water can make cubes look white, even when the ice maker works normally.
If the mold fills with water but never ejects ice, the ice maker may not be receiving the signal or power needed to start its harvest cycle. A failed ice maker motor, thermostat, sensor, or control board could be responsible. These are not usually productive DIY repairs because diagnosis may require electrical testing and model-specific disassembly.
If the ice maker runs but does not fill with water, the water inlet valve, fill tube, or supply line is more suspect. A frozen fill tube is especially common in some freezer-door ice makers. Do not chip it with a knife or sharp tool. That can puncture a water line or damage the refrigerator liner. A technician can determine why the tube froze in the first place, which may involve a leaking valve or temperature problem.
When ice clumps together in the bin, the freezer may be too warm, the bin may not be seated correctly, or the ice may simply be old. Empty the bin, discard old cubes, wipe it dry, and check that the freezer door seals tightly. If the clumping returns quickly, have the refrigerator temperature and seals checked.
Refrigerator Ice Maker Repair Guide: Safe DIY Steps
Homeowners can handle a few low-risk steps before scheduling repair. Unplug the refrigerator before removing any covers, working near wiring, or reaching behind the appliance. Turn off the water supply before disconnecting a water line.
First, remove the ice bin and look for jammed cubes around the ejector arms or dispenser chute. Use warm water on a cloth to loosen surface ice. Avoid pouring hot water into the freezer compartment, since sudden temperature changes can damage plastic parts and create excess moisture.
Then inspect the ice maker fill tube, if visible. If it appears blocked by ice, it may be tempting to thaw it and move on. Gentle warming with a hair dryer on a low setting can sometimes clear a visible blockage, but keep the dryer away from water and plastic components. If the tube freezes again, stop troubleshooting there. Repeated freezing usually means an underlying part is failing.
Resetting the ice maker may help after a power interruption or minor control error. The reset method varies widely by brand and model. Some units have a small reset button; others require turning the ice maker off for several minutes before restoring power. Use the refrigerator manual for the proper procedure. Pressing unfamiliar buttons or forcing a test cycle can create a larger issue.
Do not attempt to bypass door switches, alter wiring, or disassemble a sealed water valve. Those repairs can create shock, leak, and food-safety risks. They can also turn an affordable repair into a more expensive refrigerator problem.
When to Call an Ice Maker Repair Technician
Call for service when the refrigerator is leaking, the freezer is not holding temperature, the ice maker repeatedly freezes up, or basic checks do not restore production within a day. You should also arrange help if you hear buzzing or clicking near the water valve, see frost spreading across the freezer wall, or notice the refrigerator running constantly.
A qualified technician can test the inlet valve, water pressure, ice maker motor, sensors, wiring, control board, and freezer temperature system. That diagnosis matters because replacing an ice maker without identifying the real failure can waste money. For example, a new ice maker will not solve a weak inlet valve, a damaged door seal, or a defrost problem.
US Appliance Repairs can help homeowners connect with independent local appliance repair providers when an ice maker problem needs a trained diagnosis. Fast help is especially valuable when the same refrigerator is also struggling to cool, leaking water, or showing signs that food may not be staying at a safe temperature.
What Does Ice Maker Repair Usually Cost?
Ice maker repair costs depend on the refrigerator design, part needed, local labor rates, and how difficult the component is to access. A straightforward water filter or visible supply-line issue may be inexpensive. Replacing an inlet valve, ice maker assembly, sensor, or control board typically costs more because parts and diagnostic time vary by model.
Built-in, French-door, and freezer-door ice systems can be more expensive to repair than a basic ice maker mounted in a top-freezer compartment. Their components are often packed into narrow spaces, and some repairs require removing door panels or insulation-covered assemblies.
For an older refrigerator with several problems, compare the estimated repair cost with the appliance’s age, overall cooling performance, and replacement cost. A single failed ice maker on a refrigerator that otherwise cools well is often worth fixing. If the refrigerator also has compressor trouble, recurring leaks, heavy frost, or multiple electronic failures, replacement may make more financial sense.
Keep the Ice Maker Working Longer
Regular maintenance can prevent many avoidable ice maker interruptions. Replace the water filter on schedule, keep the freezer near 0 degrees Fahrenheit, and make sure food does not block interior air vents. Clean the ice bin occasionally and discard old ice if it has been sitting for months.
It also helps to leave enough space behind the refrigerator so the water line is not crushed when the appliance is pushed back. If your household uses a lot of ice, check the bin regularly instead of allowing it to overfill, clump, and interfere with the shutoff arm.
A stopped ice maker is frustrating, but it does not always mean the refrigerator is failing. Start with water flow, temperature, settings, and visible ice jams. If the problem involves leaks, repeat freezing, electrical components, or weak cooling, getting the right technician involved early can protect your kitchen, your groceries, and your peace of mind.