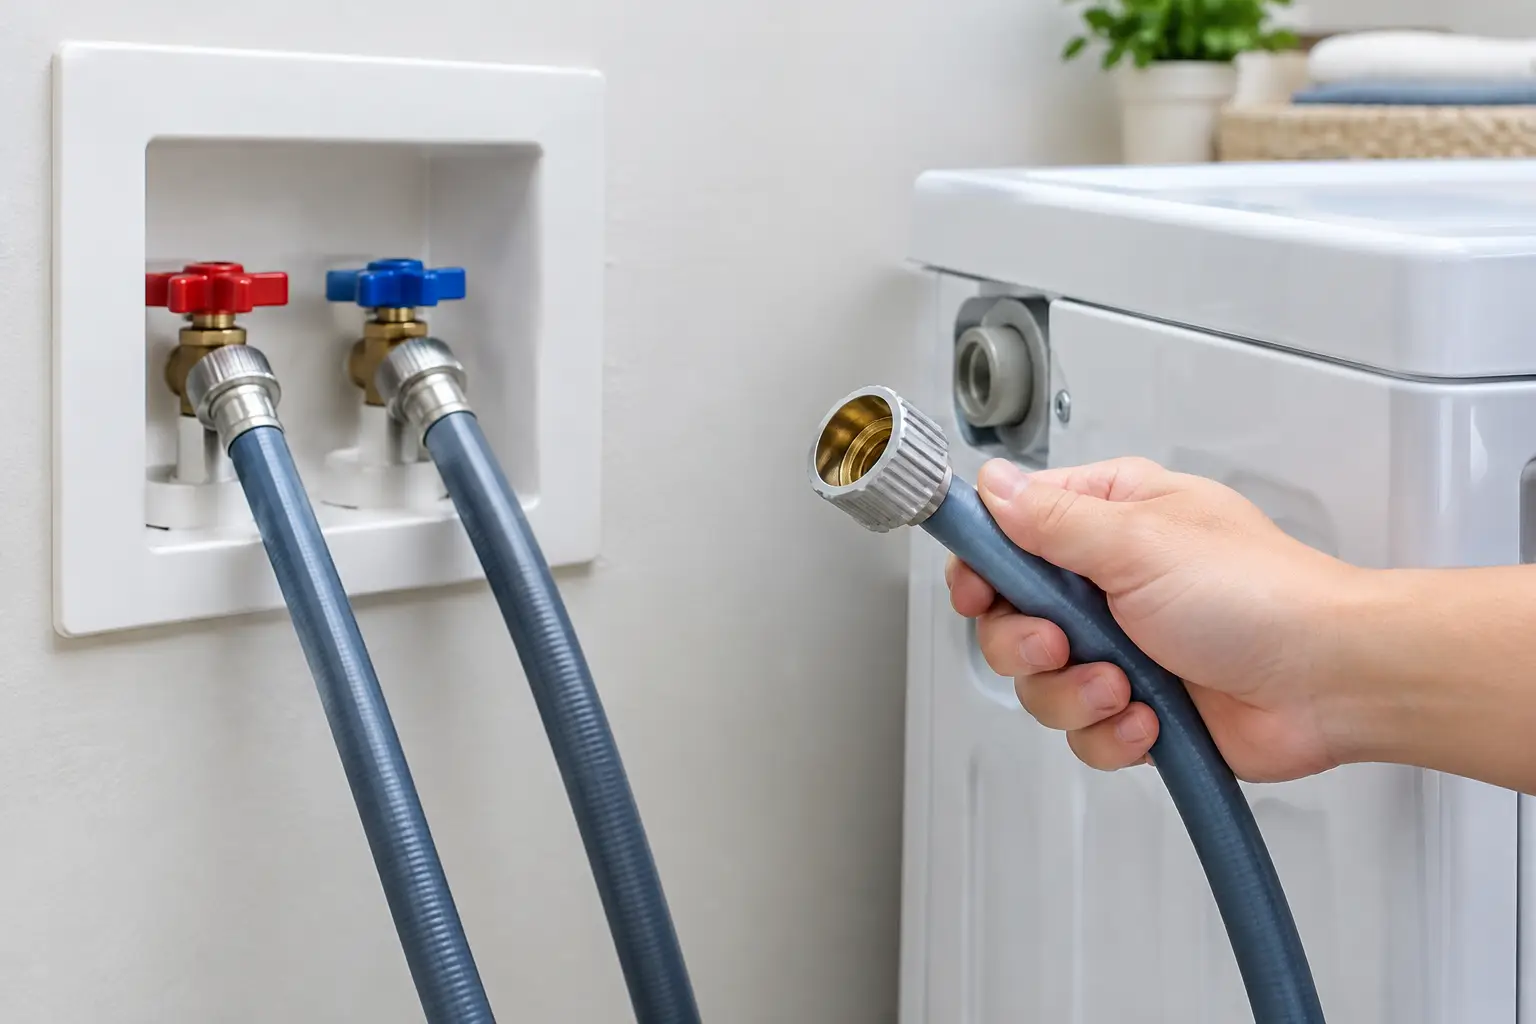
A washing machine can be running perfectly while the hoses behind it quietly become the biggest water-risk in the room. Knowing when to replace washing machine inlet hoses is a simple maintenance step that can help prevent a sudden leak, water damage, and an unexpectedly stressful repair bill.
The problem is easy to miss because inlet hoses are usually hidden behind the washer. Yet they are under water pressure whenever the supply valves are open. A hose can split at the connection, develop a slow pinhole leak, or fail without much warning as the rubber ages. A few minutes of inspection can make a meaningful difference.
Not Sure You Need a Repair?
Before you pay for a service call, try FixDecision AI. Describe what's wrong with your appliance and get a safety-first assessment to help you decide whether to DIY or call a professional.
Why washing machine inlet hoses fail
Your washer has two inlet hoses: one for hot water and one for cold water. They carry household water from the shutoff valves to the washer’s fill valves. Over time, pressure, heat, vibration, mineral buildup, and ordinary aging can weaken the hose material or its fittings.
Traditional black rubber hoses are especially susceptible to deterioration. They may look acceptable from the front while the back side is cracked, soft, swollen, or worn near the fitting. If the washer shifts during a spin cycle, repeated rubbing against a wall or sharp edge can also damage a hose.
A failed inlet hose is not always a dramatic burst. Sometimes the first clue is a damp floor, corrosion on the shutoff valve, water stains on the wall, or a musty smell behind the machine. Slow leaks deserve prompt attention too. Moisture can damage flooring and drywall long before it reaches the middle of the laundry room.
When to replace washing machine inlet hoses
For many homes, replacing standard rubber washer hoses about every three to five years is a sensible preventive schedule. However, the right timing depends on the hose type, its condition, how often the washer runs, local water pressure, and the manufacturer’s instructions.
Stainless steel braided hoses generally offer better resistance to punctures and swelling than basic rubber versions. They are not permanent, though. The braided exterior can conceal deterioration in the inner hose, and the metal fittings can corrode. Inspect them regularly and replace them if they show damage, rust, leakage, or age-related wear.
Replace the hoses promptly if you notice cracking, bulges, kinks, frayed braid, rusted fittings, moisture around either connection, or a hose that feels unusually soft. Replace them after a flooding event, a major move, or any time the washer has been pulled out and the hoses were sharply bent or strained.
If you do not know how old the hoses are, replacement is often the safer choice. The cost of new hoses is usually modest compared with repairing a water-damaged floor, baseboard, or ceiling below the laundry area.
Do not wait for visible damage alone
A hose can fail at the coupling or inside its outer layer before obvious cracks appear. Age is a valid reason to replace a hose, particularly in a second-floor laundry closet, a finished basement, or any location where a leak could spread unnoticed.
Households that leave for extended periods may want extra protection. Turning off the washer’s water valves before a vacation reduces the chance of a pressurized hose leaking while nobody is home. If the valves are difficult to reach or no longer close fully, have them evaluated rather than forcing them.
Choosing the right replacement hoses
Most washers use standard threaded connections, but hose length and fitting style still matter. Measure the existing hoses and choose a length that reaches comfortably without stretching, looping tightly, or pressing hard against the wall. Longer is not automatically better. Excess hose can kink, rub, or make it harder to spot a leak.
For most homeowners, high-quality stainless steel braided hoses are a practical upgrade. Look for hoses designed for washing machine use, with durable fittings and washers included or specified by the manufacturer. Some hoses include automatic shutoff features intended to reduce water flow if a major rupture occurs. Those features can add protection, but they may not be compatible with every washer or plumbing setup. Check the product instructions before installation.
Avoid using a damaged old washer or reusing flattened rubber washers from the previous connections. The small washer inside each hose fitting creates the seal. A new hose with a worn or missing washer can leak immediately.
How to replace washer inlet hoses safely
Replacing inlet hoses is usually a manageable homeowner task when the valves, fittings, and connections are in good condition. If the laundry area is cramped, a valve is corroded, or water is already leaking, professional help can prevent a small issue from becoming a plumbing repair.
Before starting, unplug the washer. Pull it forward carefully enough to reach the connections, but do not drag it across the floor or stretch the drain hose and power cord. Then turn off both water supply valves. Run a brief fill setting, if the washer allows it, or carefully loosen a connection with a towel and shallow pan nearby to confirm pressure has been relieved.
Remove the old hoses from the wall valves and the washer connections. Expect some residual water to drain out. Check the threaded connections for mineral deposits, rust, cracked plastic, or damaged threads. Clean light buildup gently, but do not install new hoses onto a fitting that is visibly compromised.
Attach the new hoses to the correct hot and cold connections. Hot is commonly marked red and cold blue, although markings can vary. Start each fitting by hand to avoid cross-threading. Hand-tighten firmly, then use only a slight additional turn if the hose instructions call for it. Overtightening can damage the washer, fitting, or gasket.
Turn the water valves on slowly and watch every connection for several minutes. Wipe the fittings dry, then check again for beads of water. Finally, run a short cycle and inspect once more while the washer fills and vibrates. A connection that stays dry during a quick check can reveal a slow leak when the machine is operating.
Common mistakes that cause leaks
The most common mistake is overtightening the connection. Hose fittings seal with a rubber washer, not brute force. Excess pressure can deform the washer or crack a plastic inlet port.
Another issue is pushing the washer too close to the wall after installation. Leave enough room that the hoses are not crushed, sharply bent, or rubbing against the back panel. Check them again after the first few loads, especially if a high-speed spin cycle causes the machine to move.
Homeowners also sometimes replace only the hose that looks worn. Because both hoses experience the same age and operating conditions, replacing the hot and cold hoses together is usually the more reliable choice. Label the installation month and year with a small tag or note it in your home-maintenance records so the next inspection is not a guessing game.
When a repair professional is the better call
Stop and seek help if a shutoff valve drips, will not turn, is heavily corroded, or breaks while being handled. The same applies if the washer’s inlet connection is cracked or if water continues to leak after new hoses are installed correctly. The issue may be a damaged valve, failed inlet assembly, excessive water pressure, or another plumbing problem rather than the hoses themselves.
A washer that keeps filling when it is off, fills very slowly, or displays a water inlet error may also need more than new hoses. Screens inside the hose or washer connection can become clogged with sediment, while an internal inlet valve can fail. A qualified appliance technician can identify the cause and help get the washer back up and running without guesswork.
At US Appliance Repairs, homeowners can find help connecting with independent local appliance repair providers when a washer problem goes beyond a straightforward hose change. Fast, dependable service is especially valuable when water is already on the floor or a busy household cannot go long without laundry.
Make hose inspection part of the same routine as checking your smoke alarms or cleaning your dryer vent. A dry connection today is good news, but a quick look at the hoses a few times a year gives you a better chance to address wear before it disrupts your home.