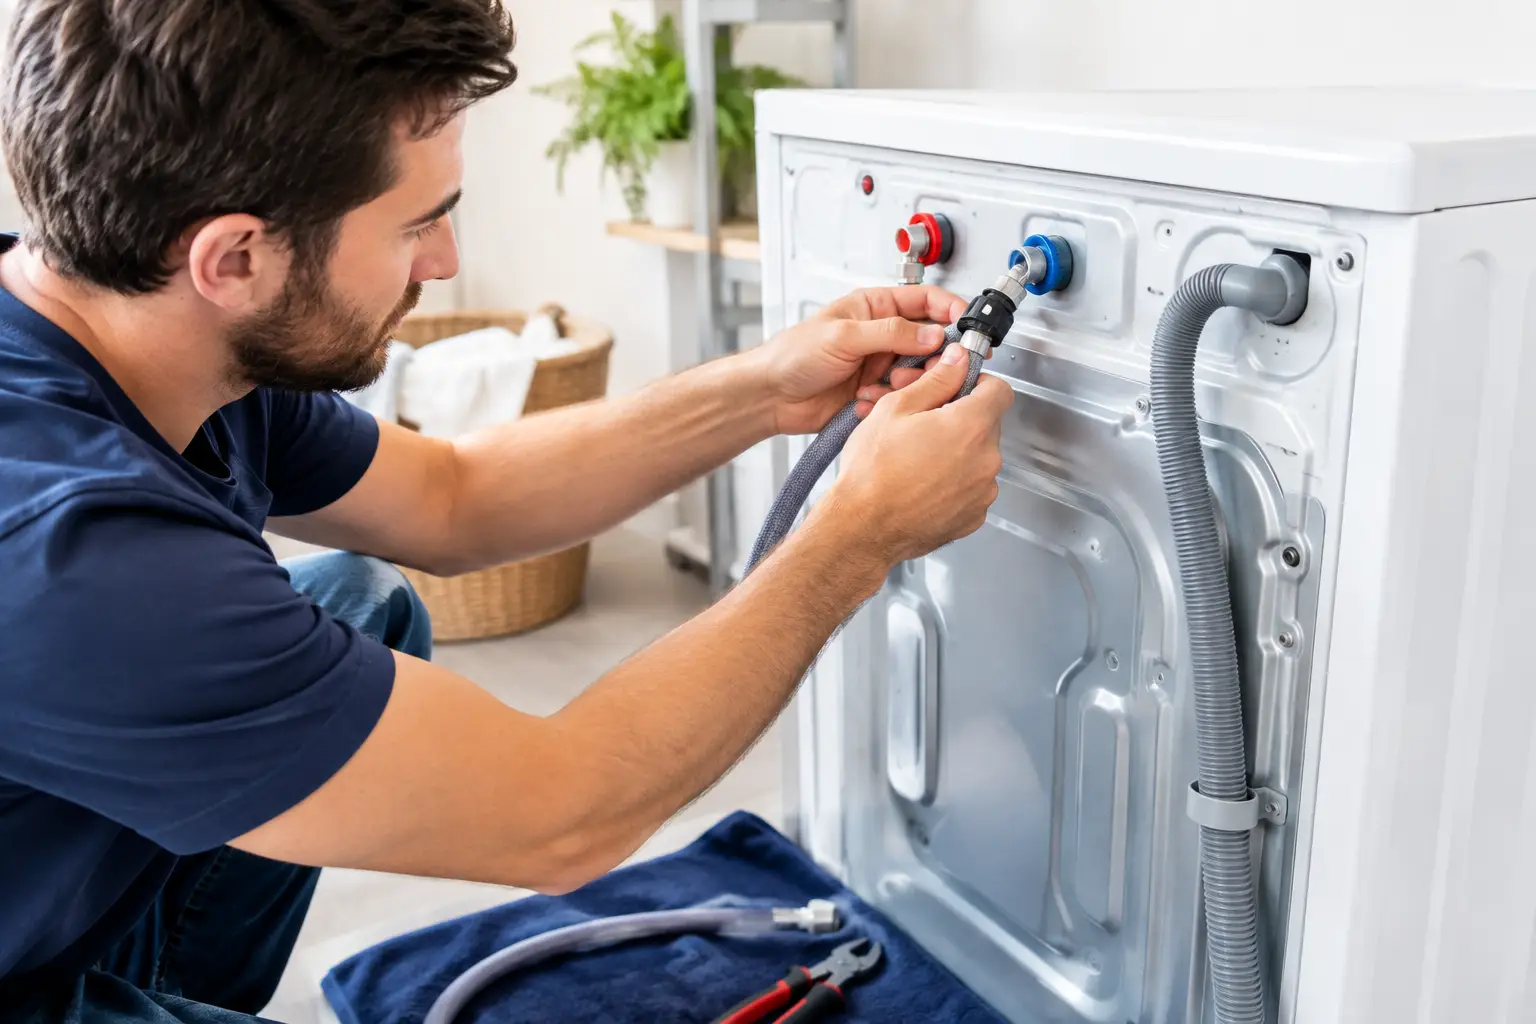
A washing machine hose can look perfectly fine right up until it splits, leaks, or bursts behind the appliance. That is why learning how to replace washer hoses is one of the simplest maintenance jobs a homeowner can do to prevent expensive water damage. The work is usually straightforward, but a stuck valve, worn connection, or cramped laundry area can turn a quick project into a bigger plumbing problem.
If you see moisture around the washer, rust on the hose fittings, bulging rubber, or a hose that is more than a few years old, do not wait for a flood to force the issue. Replacing hoses on your schedule is far less stressful than dealing with a soaked floor, damaged drywall, and a washer that is suddenly out of service.
Not Sure You Need a Repair?
Before you pay for a service call, try FixDecision AI. Describe what's wrong with your appliance and get a safety-first assessment to help you decide whether to DIY or call a professional.
When Should You Replace Washer Hoses?
Most homeowners should inspect washing machine hoses at least once a year and replace them every three to five years. Rubber hoses may need replacement sooner, particularly in homes with high water pressure, hot water exposure, or a washer that runs frequent loads.
Stainless steel braided hoses generally offer better protection against bursting than standard rubber hoses. They are not indestructible, though. The braided exterior can hide corrosion, damage, or a worn inner hose, so visual checks still matter.
Replace the hoses immediately if you notice cracking, bulges, blistering, rusted connectors, drips at either end, or visible wear where the hose bends behind the washer. A musty smell or unexplained dampness around the appliance also deserves a closer look. The leak may be small now, but it rarely gets better on its own.
What You Need Before Replacing Washer Hoses
Before pulling the washer away from the wall, make sure you have enough room to work safely. Washing machines are heavy, and the supply hoses can be damaged if the appliance is dragged across the floor or pulled too far forward.
You will typically need:
- New hot and cold water supply hoses, preferably stainless steel braided
- A bucket or shallow pan for leftover water
- Towels or rags
- Adjustable pliers or a wrench, if fittings are tight
- A flashlight for checking valves and connections
Buy hoses with the right length for your laundry area. A hose should reach the connection without stretching, kinking, or pressing tightly against the wall. Extra length is useful only if it can rest in a gentle curve. A long, tangled hose can kink or rub against the back of the machine.
Check whether the new hoses include rubber washers. These small seals sit inside the hose couplings and create the watertight connection. If a washer is missing, damaged, or doubled up accidentally, the connection can leak even when the hose feels tight.
How to Replace Washer Hoses Step by Step
1. Unplug the washing machine and shut off the water
Start by unplugging the washer. You are working near water and electrical connections, so this basic precaution matters.
Next, turn off both water supply valves behind the machine. The hot valve is usually on the left and the cold valve is usually on the right, but do not rely only on position. Follow the hoses if you are unsure. Turn each valve clockwise until it stops, using steady pressure rather than forcing it.
If a valve will not turn, do not crank on it with pliers. Older shutoff valves can break, and a broken valve can create an urgent plumbing situation. That is a good point to stop and arrange professional help.
2. Move the washer carefully and prepare for drainage
Pull the washer forward just far enough to access the connections. If the floor is delicate, place cardboard, a moving pad, or furniture sliders under the front feet. Avoid pulling on the hoses or power cord.
Place a bucket and towels beneath the hose connections. Even after the valves are shut off, water remains inside the supply hoses. A little spill is normal, especially from the hot-water side.
3. Remove the old hoses
Unscrew the hose fittings from the shutoff valves first. Many can be loosened by hand. If they are tight, use adjustable pliers carefully, turning the fitting counterclockwise while supporting the valve so you do not strain the pipe.
Then disconnect the other ends from the washer’s hot and cold water inlets. Keep track of which connection is hot and which is cold. The washer inlet ports are usually marked with an H and C or red and blue indicators.
Once the hoses are off, look closely at the old fittings and the valve threads. Mineral buildup, corrosion, cracked plastic, or damaged threads can prevent a dependable seal with new hoses. Wipe the connection points clean with a dry rag. Do not use pipe tape on standard washing machine hose threads. The rubber washer inside the hose coupling provides the seal, not the threads.
4. Attach the new washer hoses
Confirm that each new hose has one rubber washer inside each coupling. Connect the hot hose to the hot water valve and hot washer inlet, then connect the cold hose to the cold valve and cold inlet.
Thread every fitting by hand first. It should turn smoothly. If it feels crooked or catches immediately, back it off and start again. Cross-threading can damage the valve or washer inlet and may lead to a costly repair.
Tighten the fittings hand-tight, then give each one a small additional turn with pliers if needed. Do not overtighten. Excess force can flatten the washer, crack a plastic inlet, or make a future hose replacement much harder.
Arrange the hoses so they are not twisted, sharply bent, pinched behind the washer, or rubbing against a rough wall edge. A gentle loop is ideal.
5. Restore water and check for leaks
Slowly turn on the cold and hot water valves. Watch each connection while the water pressure returns. If you see a drip, shut the valve back off, dry the area, and check that the fitting is straight and the rubber washer is properly seated.
After the connections look dry, plug the washer back in and run a short rinse or wash cycle. Check the hoses while the machine fills, then inspect again after the cycle. Some leaks only appear once the hose is under full pressure or moves slightly during operation.
Common Problems During Washer Hose Replacement
A slow drip after installation usually means the fitting is not seated correctly, the rubber washer is missing, or the hose is cross-threaded. Tightening a leaking connection harder is not always the answer. Loosen it, inspect the washer, and reconnect it squarely.
A valve that drips after you turn it back on may have a worn valve stem or internal seal. This is separate from the hose itself. Replacing the hose will not repair a failing shutoff valve, and forcing the valve can make the leak worse.
If the washer fills slowly after hose replacement, make sure the valves are fully open and the hoses are not kinked. Many washing machine inlets also have small filter screens that can collect sediment. Cleaning those screens can help, but they are delicate. If they are damaged, badly clogged, or difficult to access, a qualified appliance technician can assess the issue without risking the inlet assembly.
When to Call for Washer Repair Help
Replacing hoses is a reasonable DIY task when the shutoff valves work, the threads are in good shape, and there is no sign of active water damage. It becomes less of a simple hose job when plumbing parts are corroded, a valve will not close, the washer inlet is cracked, or the machine is leaking from somewhere other than the hose connections.
A leak underneath the washer may come from an internal hose, pump, tub seal, detergent drawer, or drain system. Those repairs require a different diagnosis. Continuing to run the washer while guessing at the cause can spread water into flooring and nearby walls.
For homeowners who want fast, dependable repair guidance, US Appliance Repairs can help connect you with an independent local appliance repair provider. A trained technician can identify whether the problem is a hose, a water valve, or a washer component and help get the appliance back up and running.
A few minutes spent checking your washer hoses today can protect the room around your appliance tomorrow. If the connections are dry, the hoses are flexible, and the valves work properly, you can do laundry with more peace of mind. If anything looks questionable, stopping before a small leak becomes a major cleanup is always the smarter move.