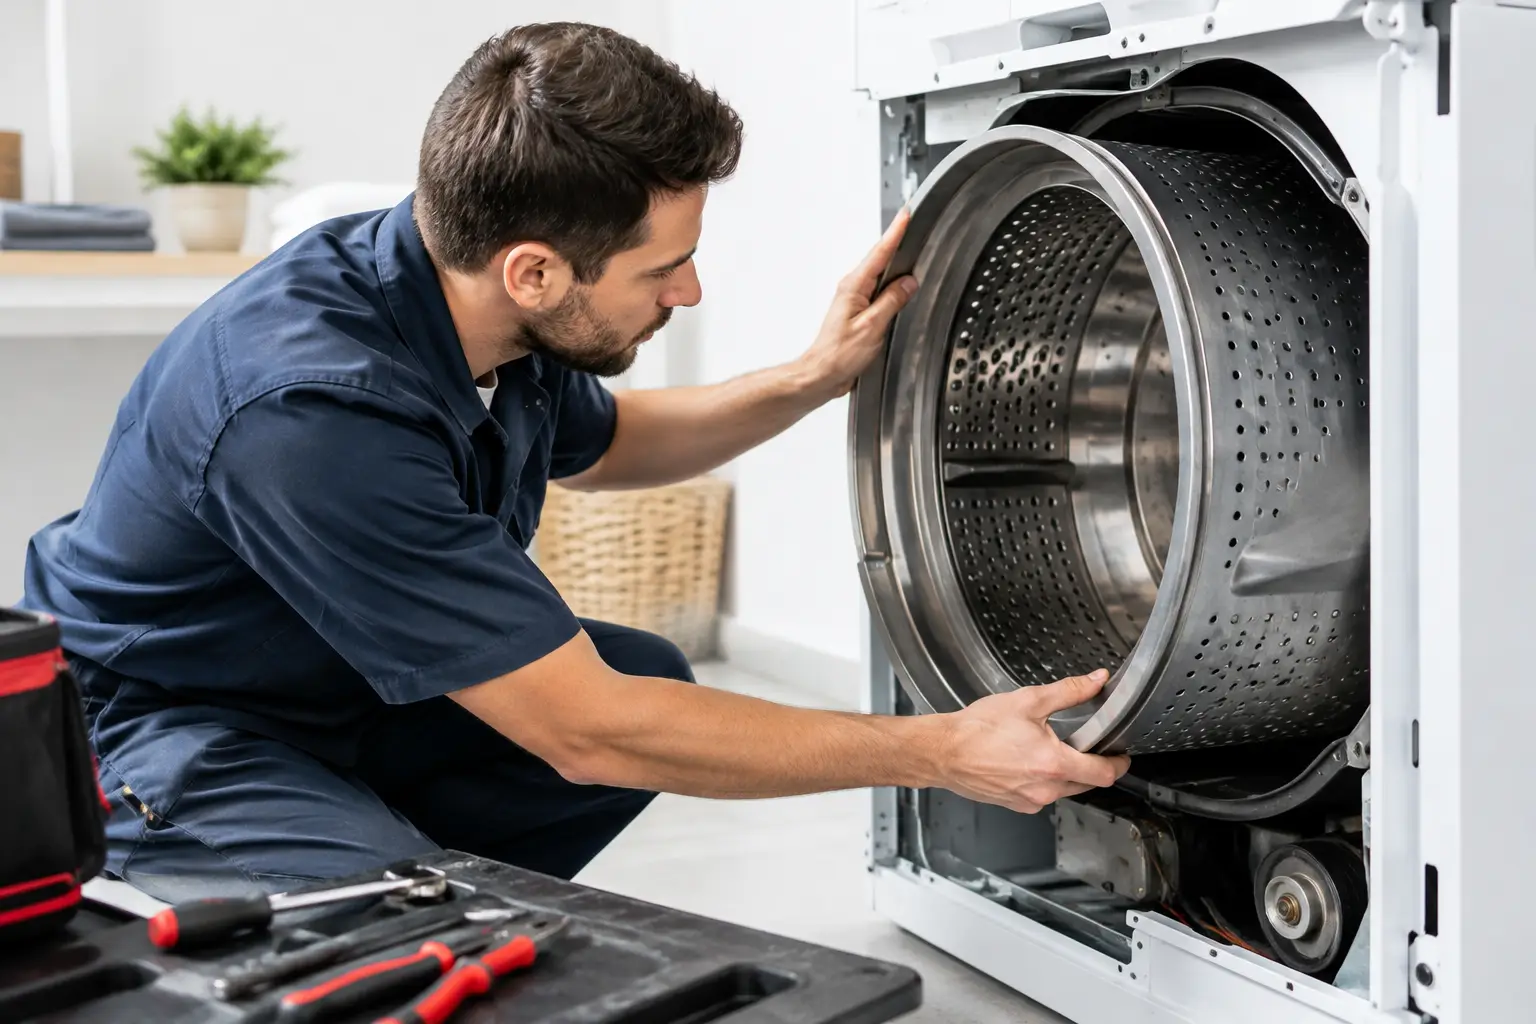
A dryer that thumps, squeals, scrapes, or leaves clothes damp can turn a normal laundry day into a household disruption. These dryer drum repair examples show what may be happening behind the front panel, which repairs are often reasonable, and when it is safer to call a qualified appliance technician.
The drum is the large cylinder that holds your laundry, but it relies on several smaller parts to turn smoothly: support rollers, glides, a belt, a motor, and sometimes a rear bearing. A problem in any of these areas can sound similar at first. The details – when the noise happens, whether the drum turns, and whether the dryer heats – help narrow down the likely repair.
Not Sure You Need a Repair?
Before you pay for a service call, try FixDecision AI. Describe what's wrong with your appliance and get a safety-first assessment to help you decide whether to DIY or call a professional.
Dryer Drum Repair Examples Homeowners Commonly See
A loud thumping sound from flat or worn drum rollers
A repeating thump that gets louder as the drum turns is one of the clearest examples of worn dryer drum support rollers. These small wheels support the drum as it rotates. Over time, the roller surface can develop a flat spot, especially if the dryer has been sitting unused or has handled years of heavy loads.
The dryer may still run and heat normally, but the noise usually will not improve on its own. Continuing to use it can place extra stress on the belt and motor. A technician will typically inspect both rollers, because replacing only one worn roller can leave the other one close behind. This is often a practical repair when the dryer is otherwise in good working condition.
A high-pitched squeal from a failing idler pulley or bearing
Does your dryer squeal sharply when it starts, then quiet down after a few minutes? The idler pulley, which keeps tension on the belt, may be worn. A dry or failing rear drum bearing can create a similar sound.
This is where an accurate inspection matters. Replacing a belt when the real issue is a pulley or bearing may not solve the noise. In some dryer designs, a rear bearing repair involves more labor than a roller replacement because the drum must be removed and the bearing assembly accessed. The age of the appliance and the total repair estimate can help determine whether repair is the better value.
A scraping noise and dark marks on clothing
A scraping or metal-on-metal sound may point to worn drum glides or seals. Glides are small pads near the front of the drum that help it turn without rubbing against the dryer housing. As they wear down, the drum can sag slightly and scrape.
Homeowners sometimes notice thin dark streaks, snags, or small tears on clothing at the same time. Stop using the dryer if fabric appears to be catching between the drum and the front panel. Besides damaging clothes, a worn seal or glide can allow items such as socks to slip into areas where they do not belong.
The dryer runs, but the drum does not turn
If you can hear the motor running but the drum stays still, a broken or slipped drive belt is a likely cause. A belt can wear, crack, or snap after years of use. The dryer may still produce heat, but clothes will not tumble and can become overheated in one spot.
Do not keep running the dryer to test it. Turn it off and unplug it. Depending on the model, access may require removing the front panel, top panel, or drum. A technician should also check why the belt failed. A seized roller, damaged pulley, or overloaded drum can shorten the life of a replacement belt.
The drum wobbles or sits unusually low
A drum that appears uneven, rubs the door opening, or wobbles while turning may have failed rollers, worn glides, or a damaged rear support. This repair should not be ignored. A misaligned drum can wear through surrounding parts and create more expensive damage if it continues to operate.
In rare cases, the drum itself may be cracked or warped. A cracked drum can make a rhythmic bumping sound and may damage clothing. Because a replacement drum can be costly, this is one repair where comparing the estimate against the dryer’s age, condition, and replacement cost is especially helpful.
What Dryer Drum Repairs Usually Cost
Repair pricing depends on the dryer brand, model, local labor rates, part availability, and how far the technician must disassemble the appliance to reach the failed component. A simple belt, roller, or glide repair generally costs less than replacing a drum or a complex bearing assembly.
As a broad planning range, homeowners may see total service costs from about $150 to $400 for common drum-related parts and labor. More involved repairs, including certain bearing or drum replacements, can run higher. A service call or diagnostic fee may be separate, although some providers apply that amount toward an approved repair.
The lowest quote is not always the best choice. Ask what part is being replaced, whether related wear items were inspected, and whether the estimate includes labor and any service fees. Clear answers help avoid a repeat visit for a nearby part that was already close to failing.
When a Dryer Drum Repair Makes Sense
A drum repair is often worthwhile when the dryer is under 10 years old, has no major heating or electrical issues, and the repair addresses a normal wear part such as a belt, roller, or glide. These components are expected to wear eventually, even in dependable machines.
Replacement may deserve consideration when the drum is cracked, the dryer has multiple serious problems, or the repair cost approaches a substantial portion of a comparable new unit. It depends on the appliance’s history. A well-maintained dryer with one failed support roller is very different from an older dryer with a damaged drum, weak motor, and recurring heating failures.
A local technician can evaluate the full condition of the appliance rather than focusing only on the sound you hear. That bigger picture gives you a more reliable repair-versus-replacement decision.
Safe Checks Before Scheduling Service
Before arranging service, unplug the dryer and let it cool completely. Empty the drum, then turn it by hand. A smooth, quiet rotation is a good sign. Resistance, rubbing, a pronounced wobble, or a repeated thump supports the case for a drum-support problem.
Check the lint screen and the exterior vent area as well. Restricted airflow usually causes long drying times and overheating rather than a drum noise, but lint buildup can create a separate fire risk. Clean the lint screen after every load and have long or obstructed vent runs cleaned as needed.
Avoid opening cabinet panels or attempting to lubricate parts with household oil. Dryer repairs may involve sharp metal edges, electrical connections, and components that need correct alignment. The wrong lubricant can attract lint or damage parts designed to run dry.
Getting the Right Help for Drum Problems
When you describe the problem, mention the type of noise, when it occurs, whether the drum turns, and whether the dryer heats. A short video of the sound, taken from a safe distance, can also help a technician understand the issue before arriving.
For homeowners who need fast help without spending hours screening providers, US Appliance Repairs can help connect you with independent local appliance repair professionals. Ask for an inspection and written estimate so you know whether the repair addresses a belt, rollers, glides, bearing, or the drum itself.
A noisy dryer does not always mean the appliance is at the end of its life. Catching a worn support part early can protect your clothes, reduce strain on the motor, and help get laundry back on schedule with greater peace of mind.